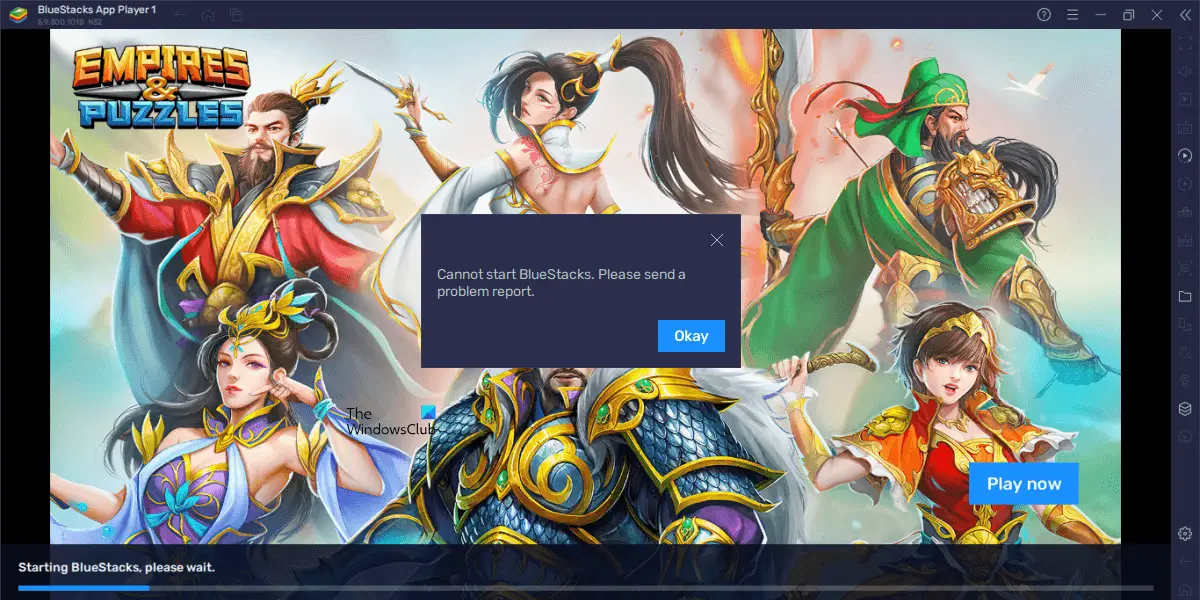
According to the feedback of the affected users, BlueStacks displays the following error message when they launch it. Clicking on the Okay button closes the BlueStacks App Player.
BlueStacks is not opening or launching on PC
If BlueStacks is not opening or launching on your PC, restart your system and try again. If this does not fix the issue, try some other basic fixes.
Repair your system image files. Corrupted system files cause several issues. Use the System File Checker (SFC) tool to scan and repair the corrupted system image files. If it fails to repair the files, run the DISM tool for the same.If you have installed the BlueStacks App Player for the first time and it is showing you the error message, your system might not fulfill the minimum hardware requirements required by the BlueStacks. You can check this on the official website of BlueStacks. If this is the case with you, you should upgrade your hardware.
Use the solutions provided below to resolve this problem.
1] Update or reinstall your graphics card driver
The first thing that you should do is update your graphics card driver. Open the Optional Updates page in Windows 11/10 Settings and see if an update for your GPU driver is available. If yes, install it. If the update is not available there, reinstalling the GPU driver can help. For this, first, you have to uninstall the currently installed GPU driver from your system. The following steps will guide you on this. If the GPU driver is downloaded as an EXE file, you can easily install it by double-clicking on it. If it is downloaded as an INF file, you have to use the Device Manager to install it.
2] Toggle Virtualization on your system
BlueStacks require a hardware virtualization feature to run on Windows. If this feature is disabled on your system, you have to enable it. However, for some users, disabling Hardware Virtualization fixed the issue. You can check if this feature is enabled or disabled on your system by following the steps mentioned below:
If Virtualization is enabled on your system, disable it. If it is disabled, enable it. Enabling or disabling Virtualization can help you fix the problem.
3] Temporarily disable your antivirus
If you are using a third-party antivirus, it might be interfering with BlueStacks Player and causing it to fail to load. You can check this by disabling your antivirus software temporarily. After turning off your antivirus, launch BlueStacks and check if it displays the error message this time or not. If yes, you have to exclude the EXE file of BlueStacks from your antivirus software. You can easily exclude a program in Windows Security. To add a program as an exclusion to a third-party antivirus, you have to refer to its user manual or contact its support. To locate the EXE file of BlueStacks, follow the steps written below:
4] Troubleshoot in a Clean Boot state
If a third-party startup app or Service is interfering with BlueStacks, you may experience problems with BlueStacks. To check this, you have to troubleshoot in a Clean Boot state. When you start your system after disabling all third-party Services and startup apps, that state is called the Clean Boot state because only Windows Services are active in that state.
After starting your system in Clean Boot, launch BlueStacks and see if it displays the same error message. If not, one of the third-party apps or Services is causing the problem. First, identify if the problem is caused due to a startup app. For this, enable all the startup apps and restart your system. Now, launch BlueStacks. If you see the error message, one of the startup apps is the culprit. To identify it, disable startup apps one by one and restart your computer after you disable the startup app. After restarting the computer, launch BlueStacks and see if the problem persists. In this way, you can identify the problematic startup app. Once you find it, uninstall it. To find the problematic third-party Service, open MSConfig and enable some of the third-party Services and restart your computer. Now, check if you can launch BlueStacks. If the error persists, disable the third-party Services one by one and restart your system after you disable each third-party Service. After restarting your PC, launch BlueStacks and see if the problem persists. In this way, you can identify the problematic third-party Service. Once you find it, check which third-party app it belongs to. Uninstall that program. If you do not want to uninstall that program, keep that Service disabled.
5] Install the 32-bit version of BlueStacks
If the error still persists, you can install the 32-bit version of BlueStacks. The 32-bit BlueStacks version also works on 64-bit Windows computers. Here is how to do that. When you install BlueStacks, two additional apps also get installed automatically with the BlueStacks. These apps are BlueStacks X and BlueStacks Multi-Instance Manager. You have to use the BlueStacks Multi-Instance Manager to download and install the 32-bit version of BlueStacks. The following steps will guide you on this;
After creating the new 32-bit instance of BlueStacks, you will be able to launch it from the BlueStacks Multi-Instance Manager (see the above screenshot). Click on the Start button to launch the 32-bit BlueStacks. This should fix the issue.
6] Uninstall BlueStacks using Revo Uninstaller and install it again
If the error still persists, completely uninstall BlueStacks and install it again. The following steps will help you: Read: BlueStacks is stuck on Starting the Engine screen.
Why is BlueStacks not working in Windows 11/10?
If BlueStacks is not working in Windows, first, confirm whether or not your system fulfills minimum hardware requirements. You can see the hardware requirements for Windows on the official website of BlueStacks. Another cause is virtualization. The 64-bit version of BlueStacks requires Virtualization technology to run on Windows OS. Check if hardware Virtualization is enabled or not. If not, enable it or download the 32-bit version of BlueStacks. The 32-bit version of BlueStacks does not require Hardware Virtualization.
How do I fix BlueStacks apps not opening?
If BlueStacks is not opening apps, clear the cache of that app. The following steps will guide you on this:
I hope this helps. Read next: Bluestacks stuck on Initializing screen on Windows.